You bet, I'd sure like to see the other pictures. Worth a thousand words each, eh? Again, super job
lol. Your wish is my command!
In no particular order then....
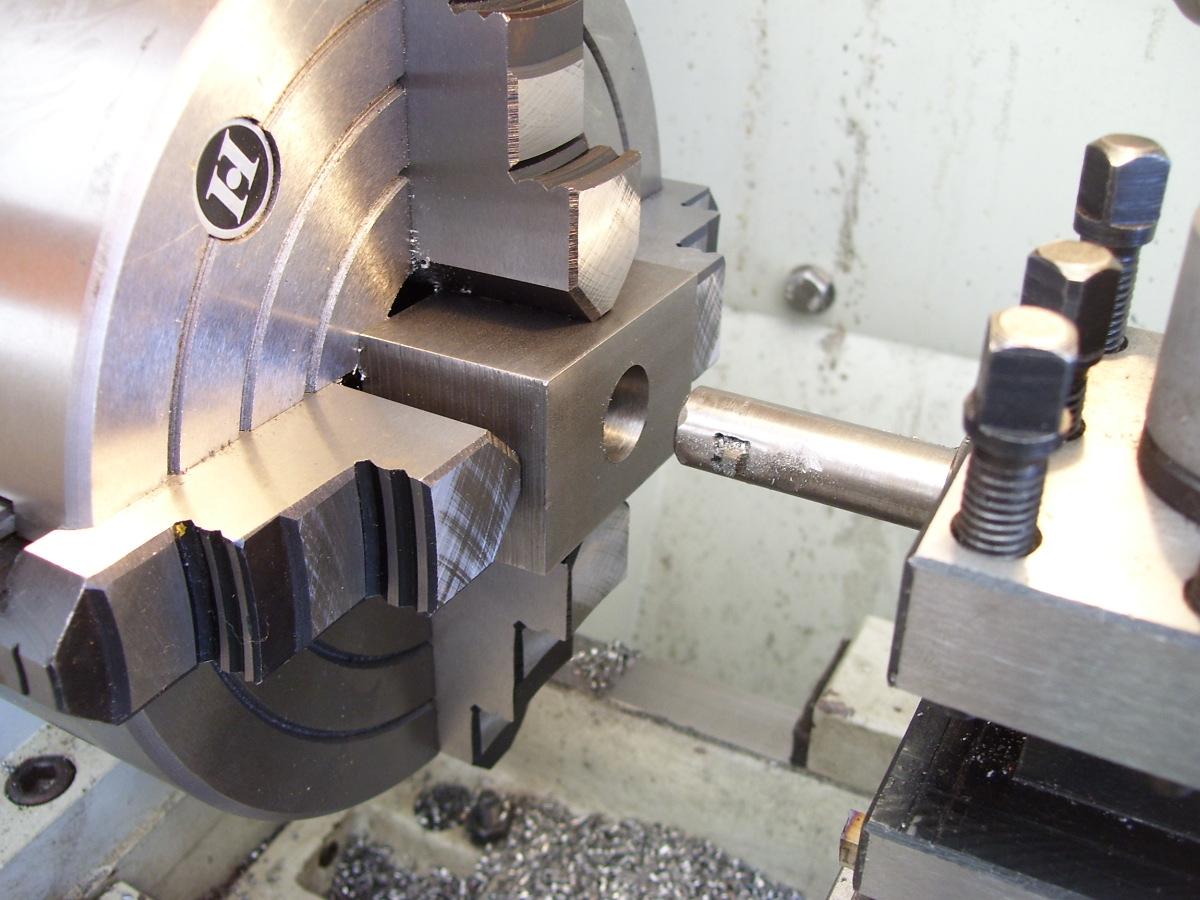
The pin that the head tilts on (seasonal adjustment) was also made of 1214 steel. I machined a groove in each end to take a circlip so it couldn't work its way out, and a small bevel one end to help line it up and get it through the holes.
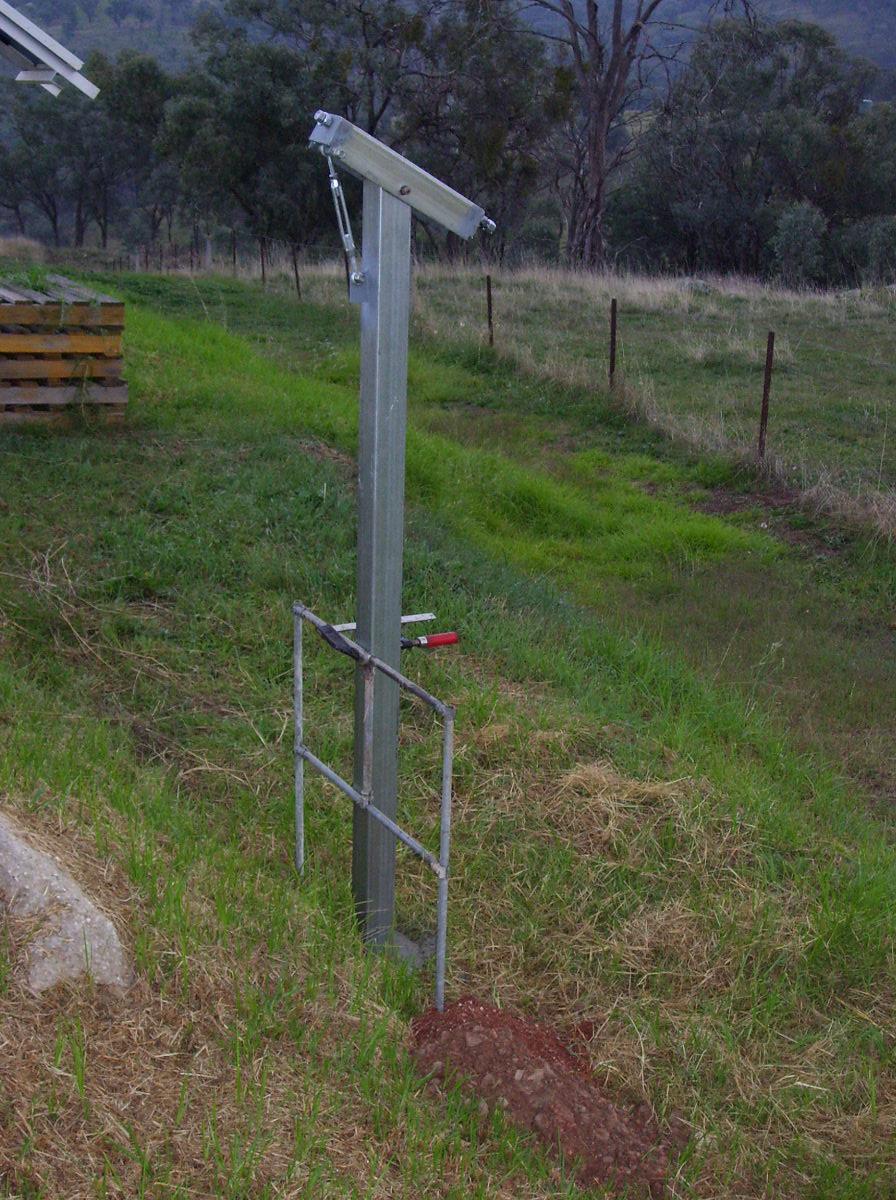
We don't get the frozen ground (frost heave?) that some of you far northern folk get, so my posts were holes 3 feet deep and a foot diameter, with the 4" galvanised steel post dropped in, then filled with concrete. Here's one with the head on, just waiting for the concrete to cure before I continued. The frame around it was just to hold it square while the concrete went off.
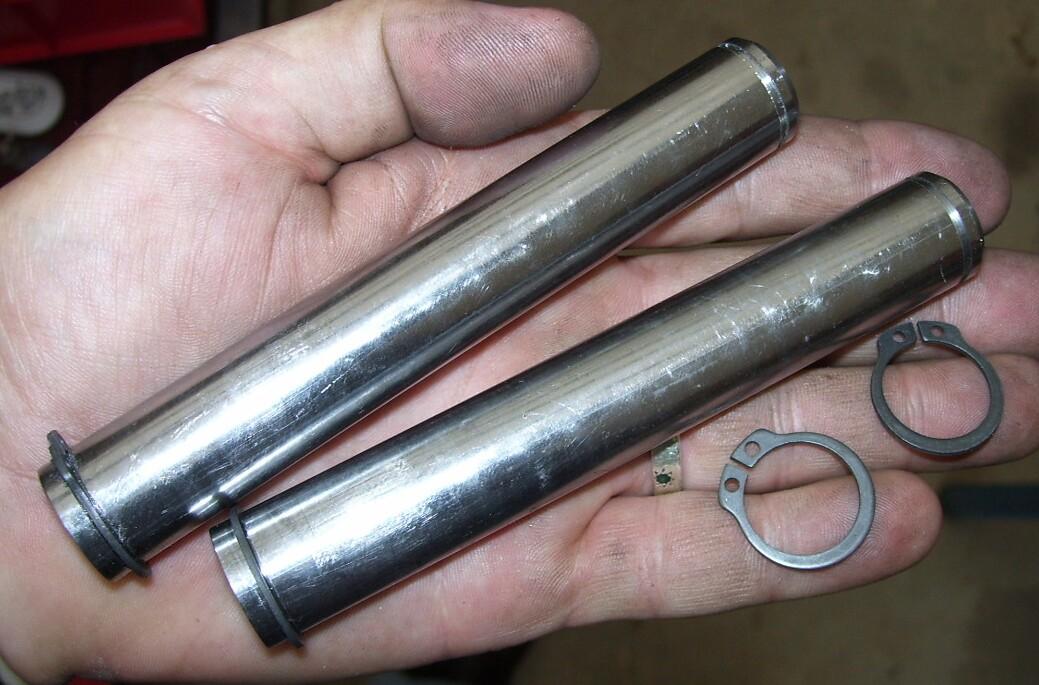
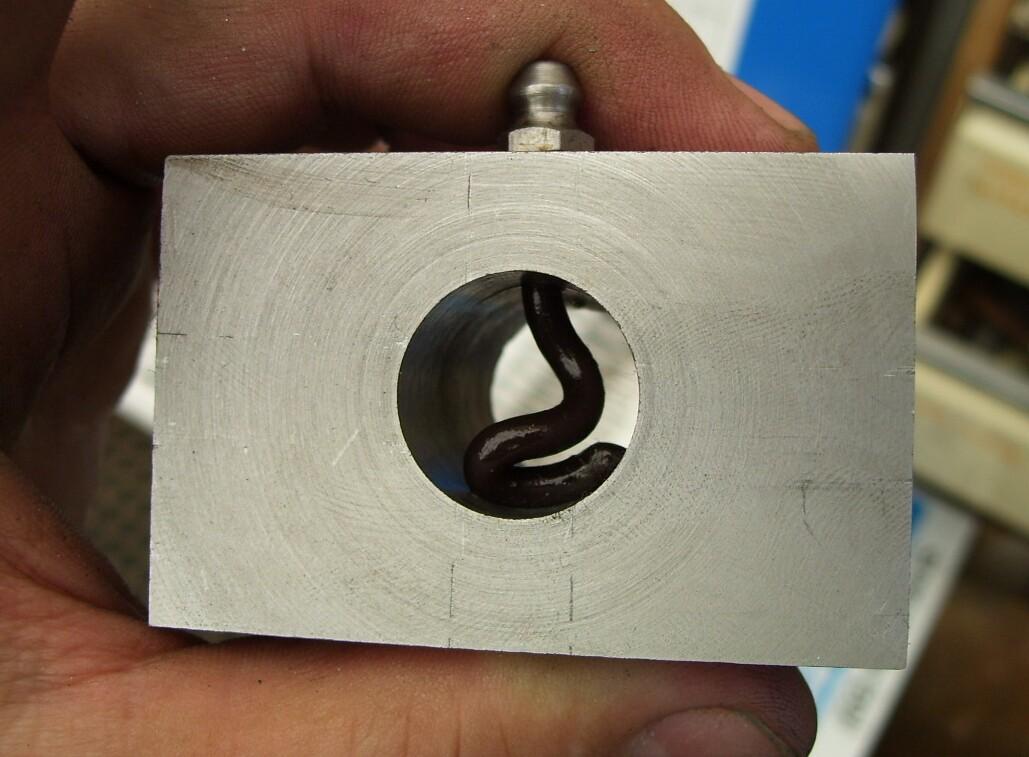
I started with a length of 40mm solid 1214 bar stock, cut to length. Drilled a hole through it, then bored it to comfortable fit for the 3/4" shaft, leaving clearance for grease and so it would turn.
Grease nipples added so I can keep the things turning. I figure half a turn a day just wasn't worth the extra complexity of bearings, and this would be plenty strong.
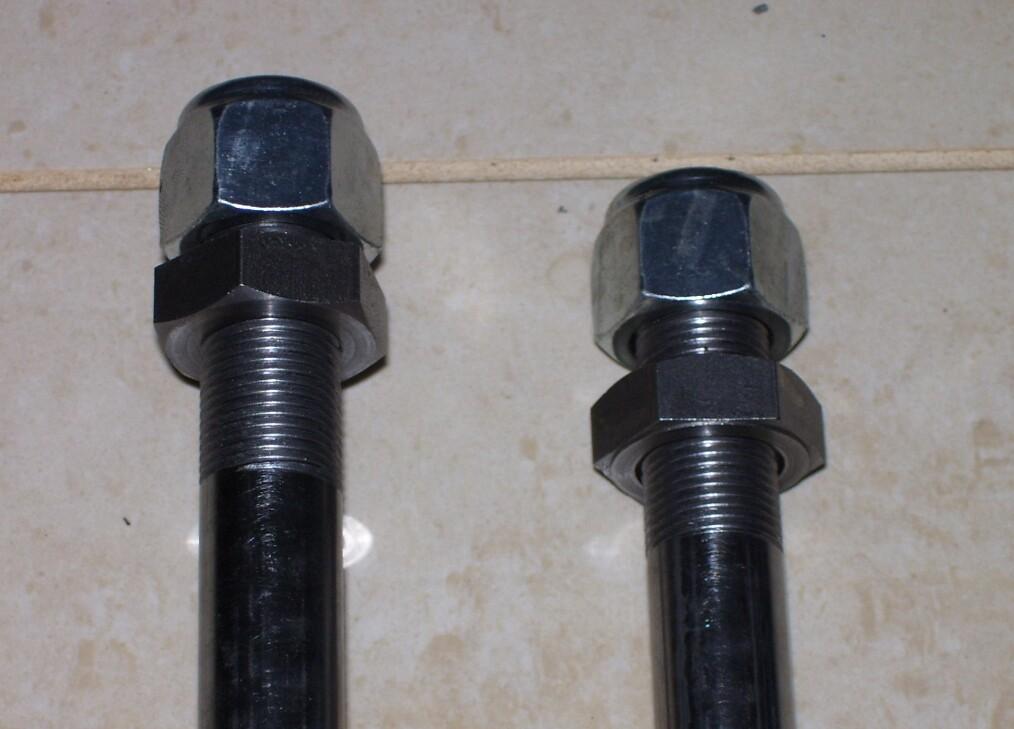
The threads came up pretty well for a non-mechanical guy. I chose a half-nut to lock the inside, and a nyloc for the end. They won't shake off.
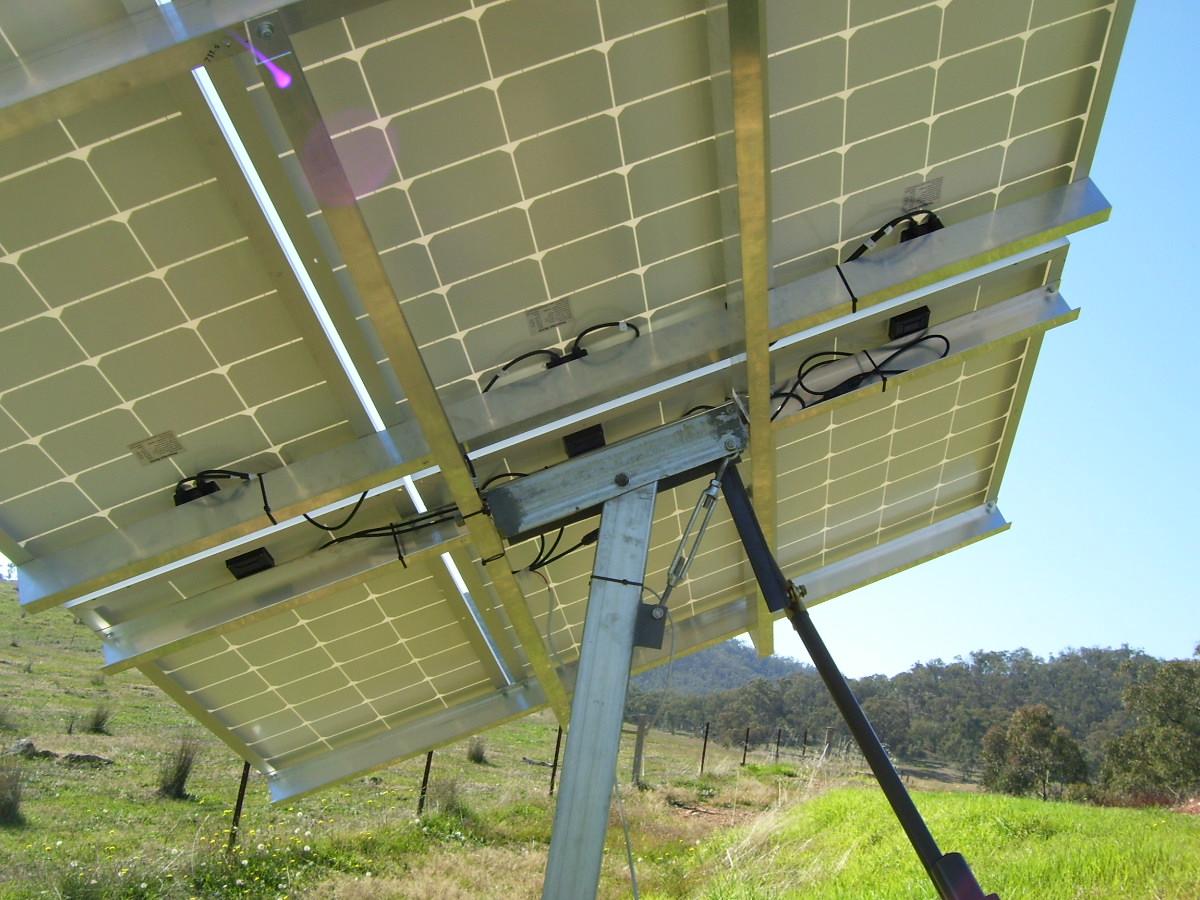
Took some time with a calculator to work out the geometry of the mounting bracket so I would get maximum east/west tilt with the actuators I got. This pic also shows the orientation of the panels. Half one way, half the other. This keeps the connections as close as possible, so induction loops are minimised. (for lightning protection. Does this need more explanation?)
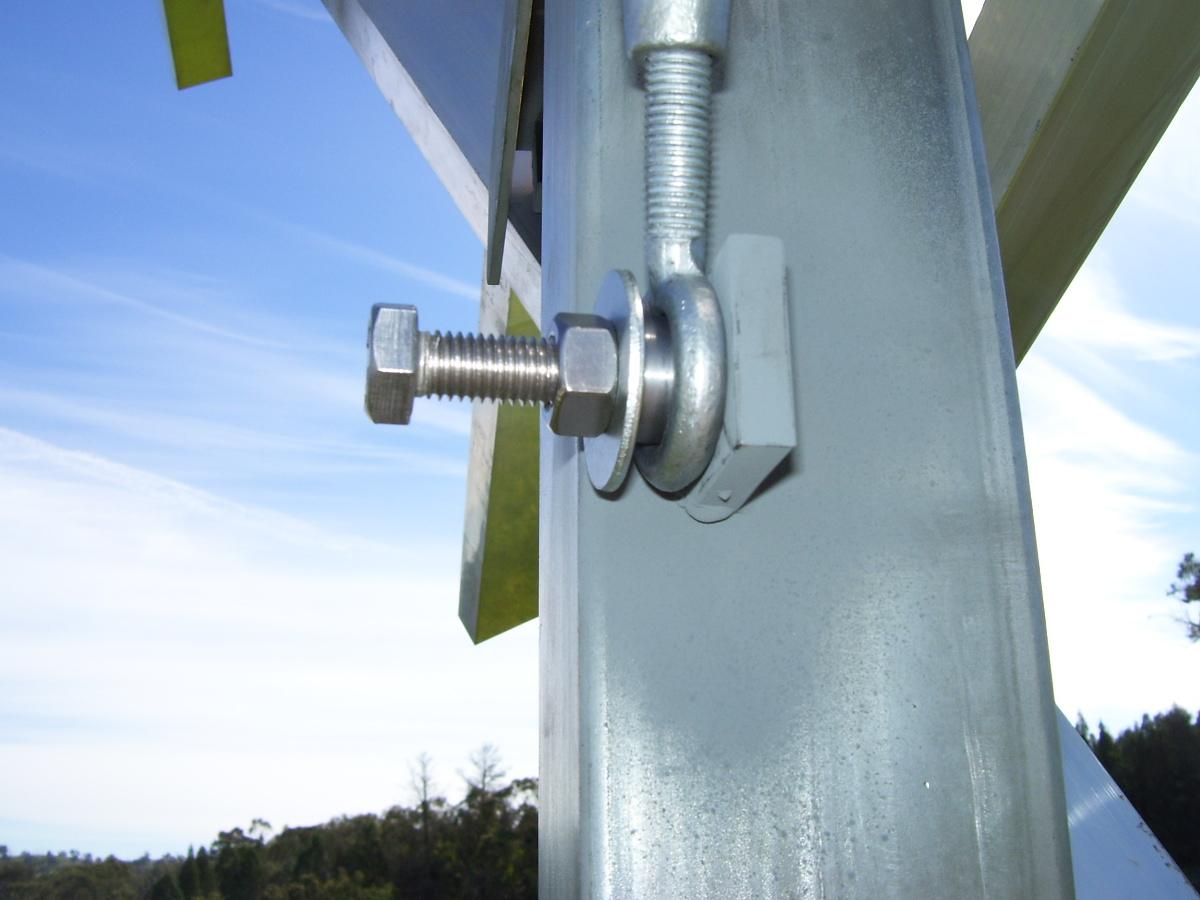
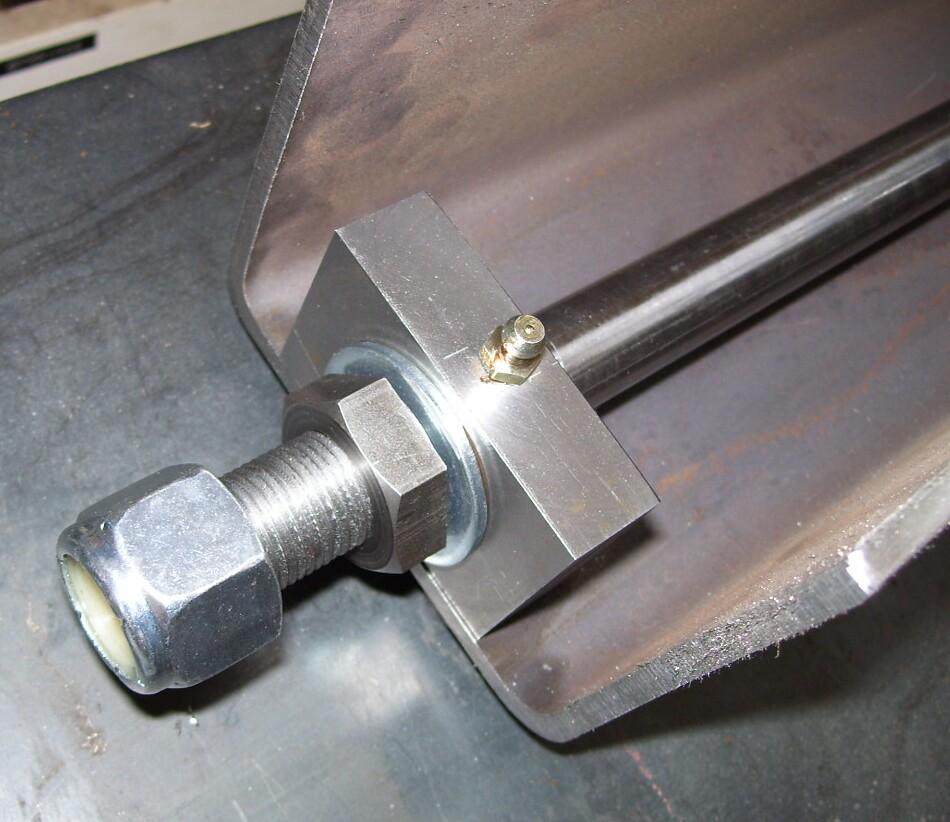
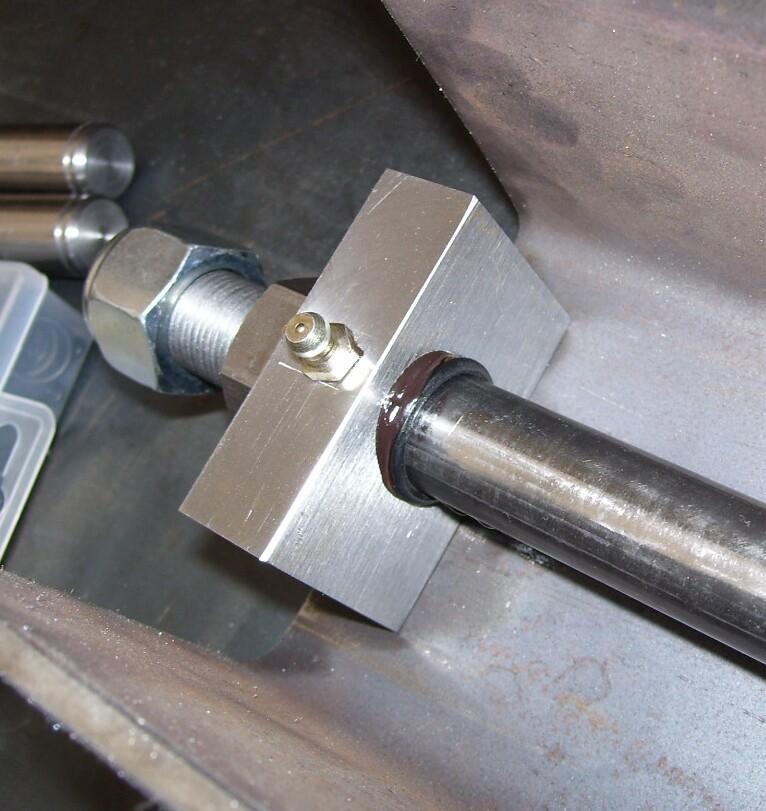
Closeup of one "bearing block" (bearing as in "load bearing"). The bolts that hold these on are high-tensile and go ALMOST the whole depth of the block.
There's an O ring on the back to help keep the grease in and moisture out.
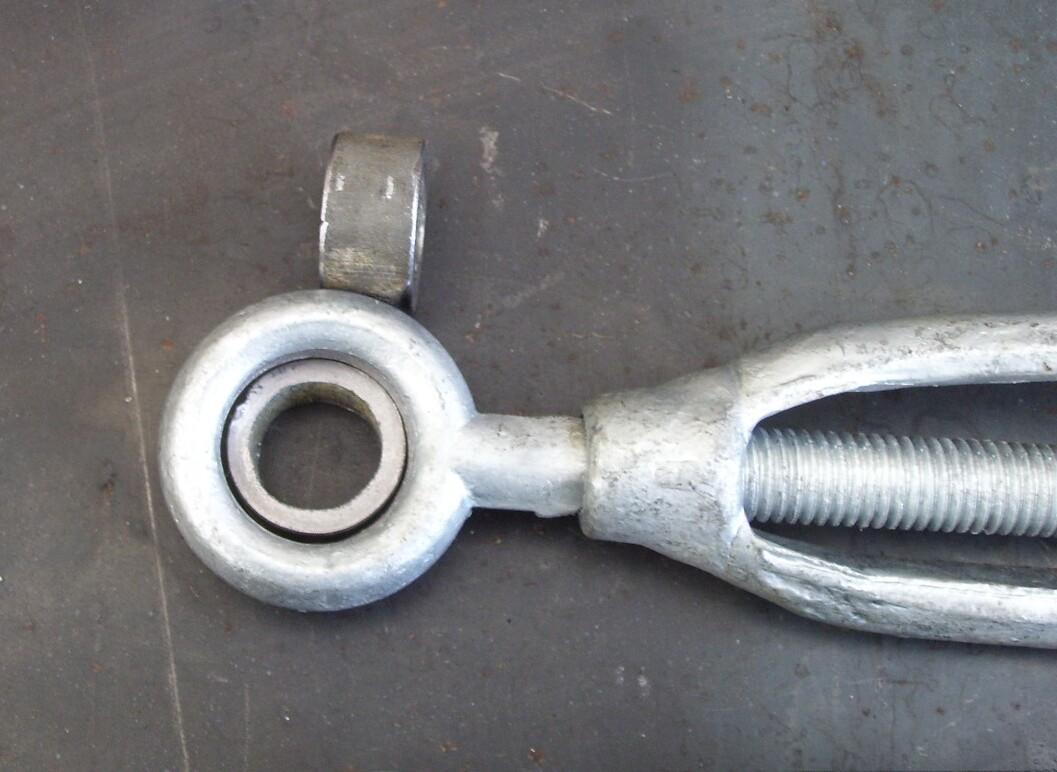
The turnbuckle eyes were just rough cast and slightly different sizes from one to another. I machined them out to a clean, constant size so they could be attached so they would swivel, but not slop.
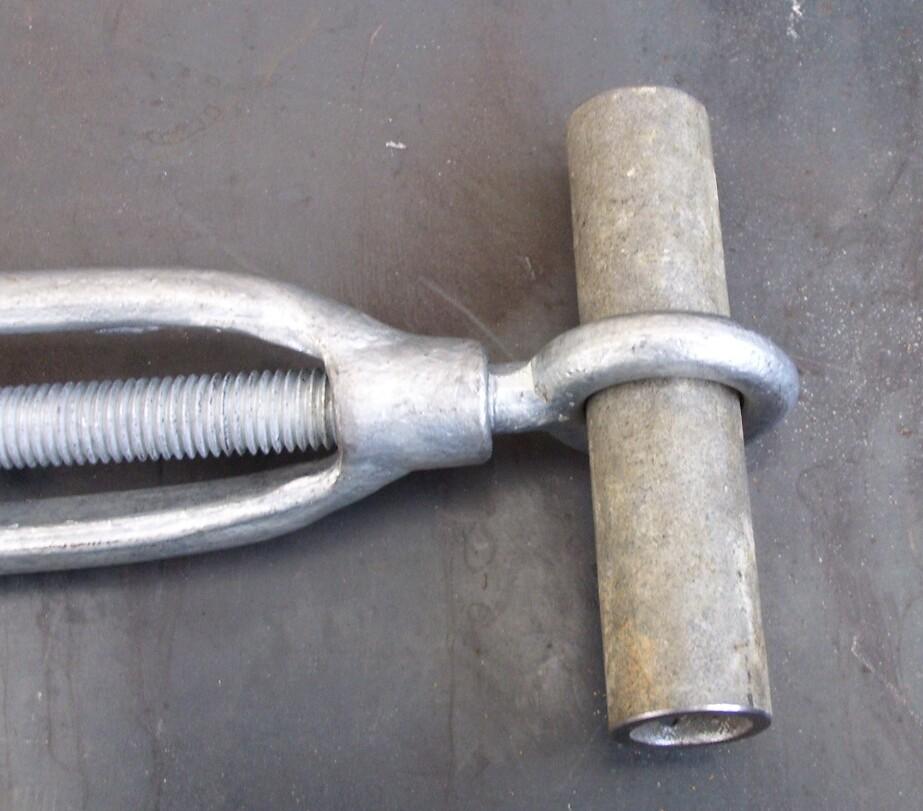
I turned up some threaded "slugs" to hold the cross pieces in place. They press firmly up the centre of some gal pipe.
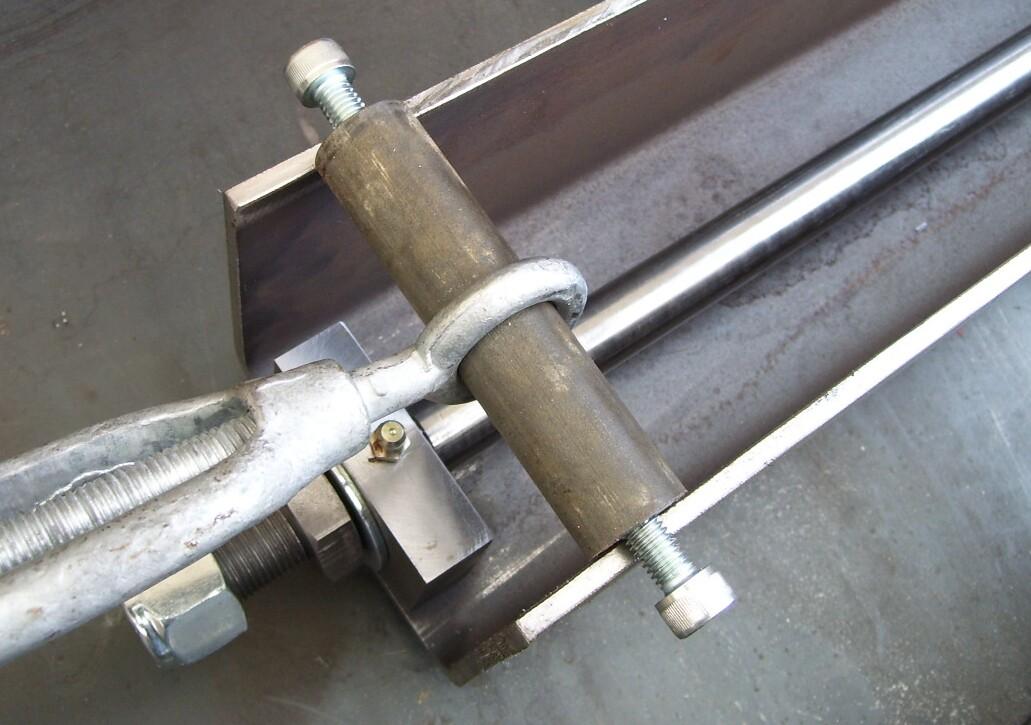
The cross-piece (shown here not mounted) serves several purposes. It helps keep the U channel rigid, and it forms the attachment point for the turnbuckle (for seasonal adjustment)
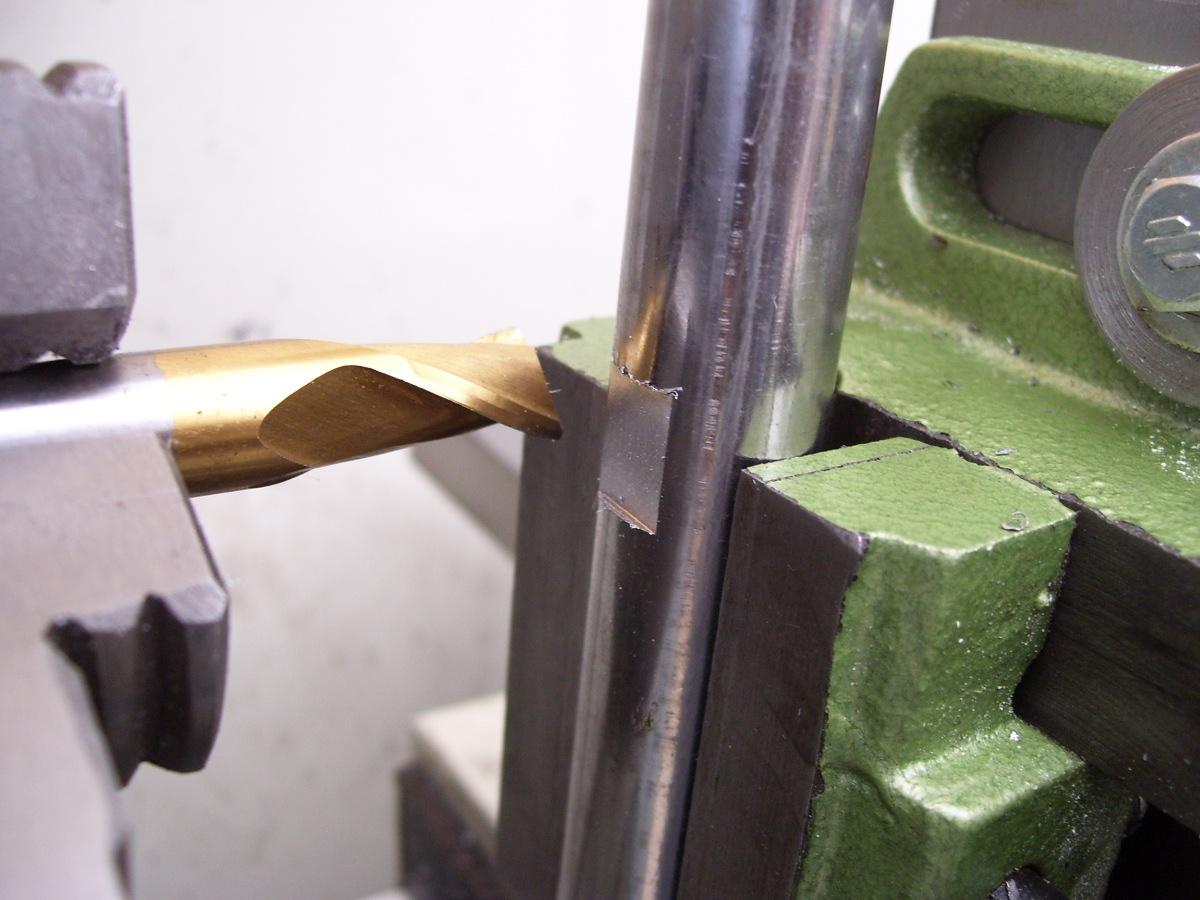
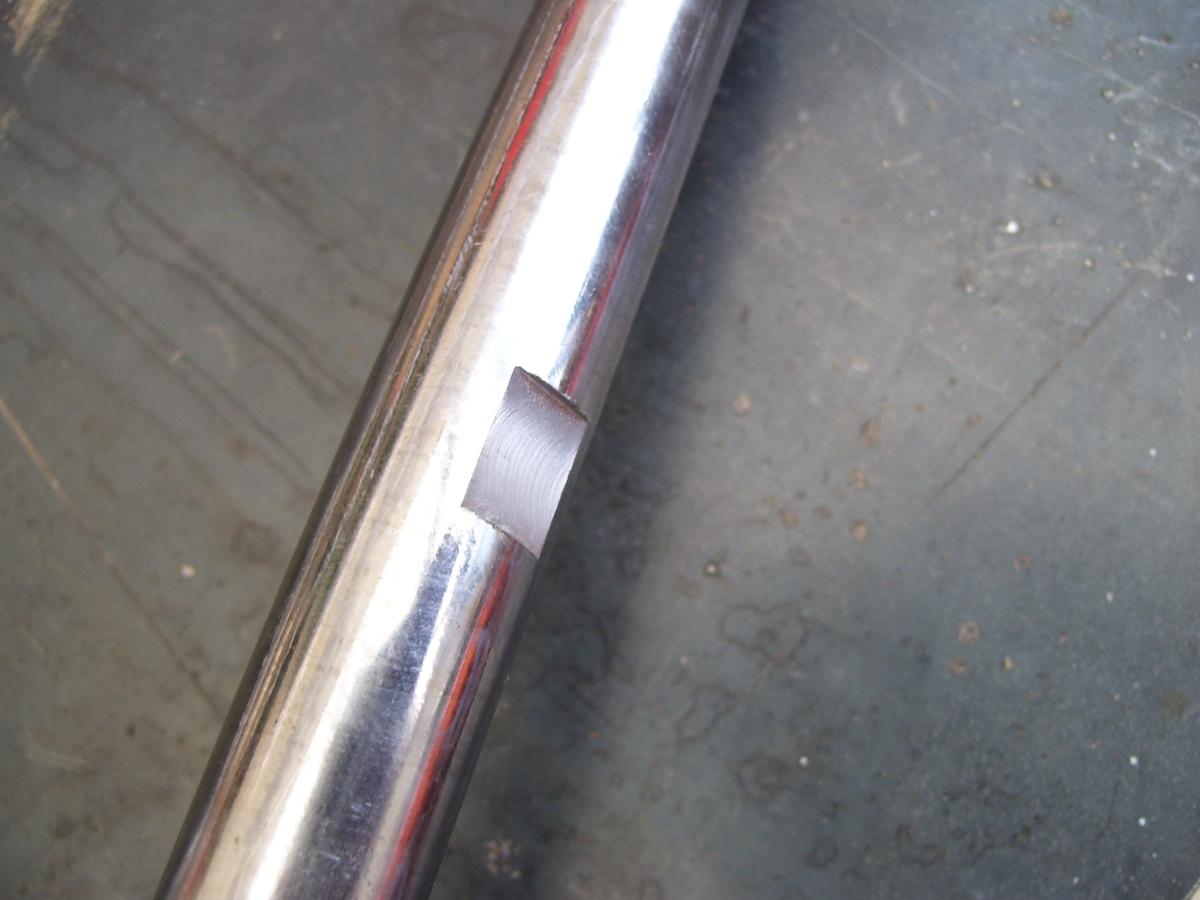
"Milling" the slots for the spanner, as mentioned earlier. I only used a 2-flute slot-drill here, but the result was quite satisfactory. Hardest part was getting the two sides exactly parallel.
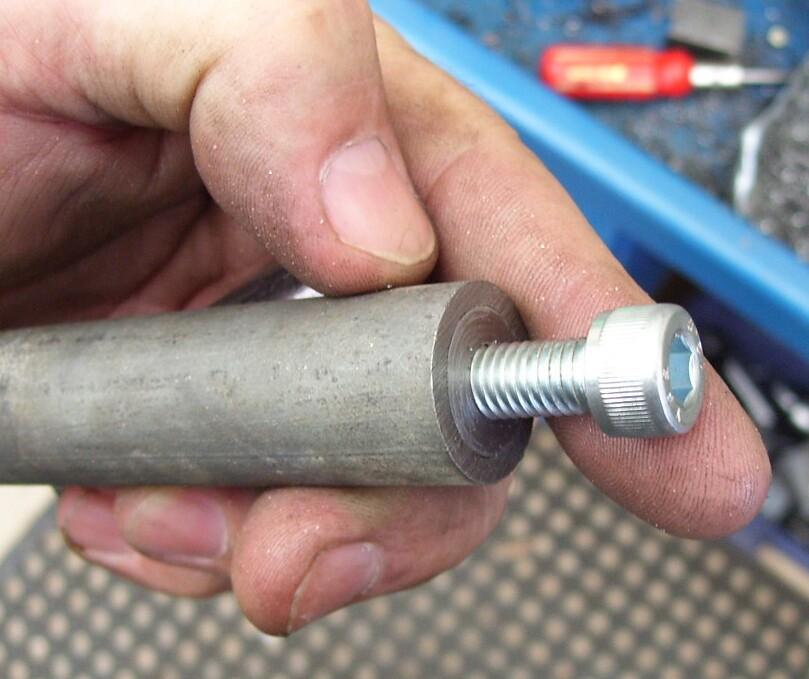
This shot was a setup, using a long bolt to show the mounting to the post. The inner sleeve isn't visible when a shorter bolt is used and it's all done up.